+44 20 1234 5678
info@pinkleaf.co.uk
Follow Us:
Couple planning skip hire on a tablet

5

Easy Steps to Hiring a Skip

Welcome to the Complete Guide

Hiring a skip is the easiest way to manage waste for any big project. But which size do you need? What are the rules? This guide will teach you everything you need to know in 5 simple steps, starting with which skip is right for you.

How It Works: A Quick Overview
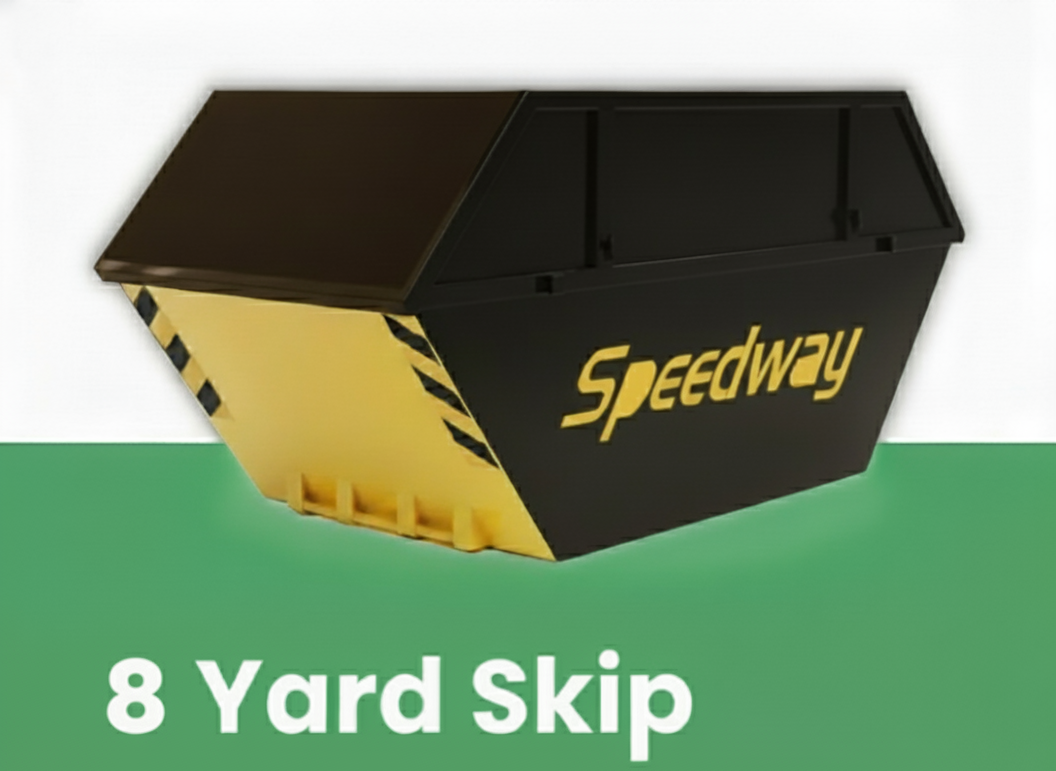
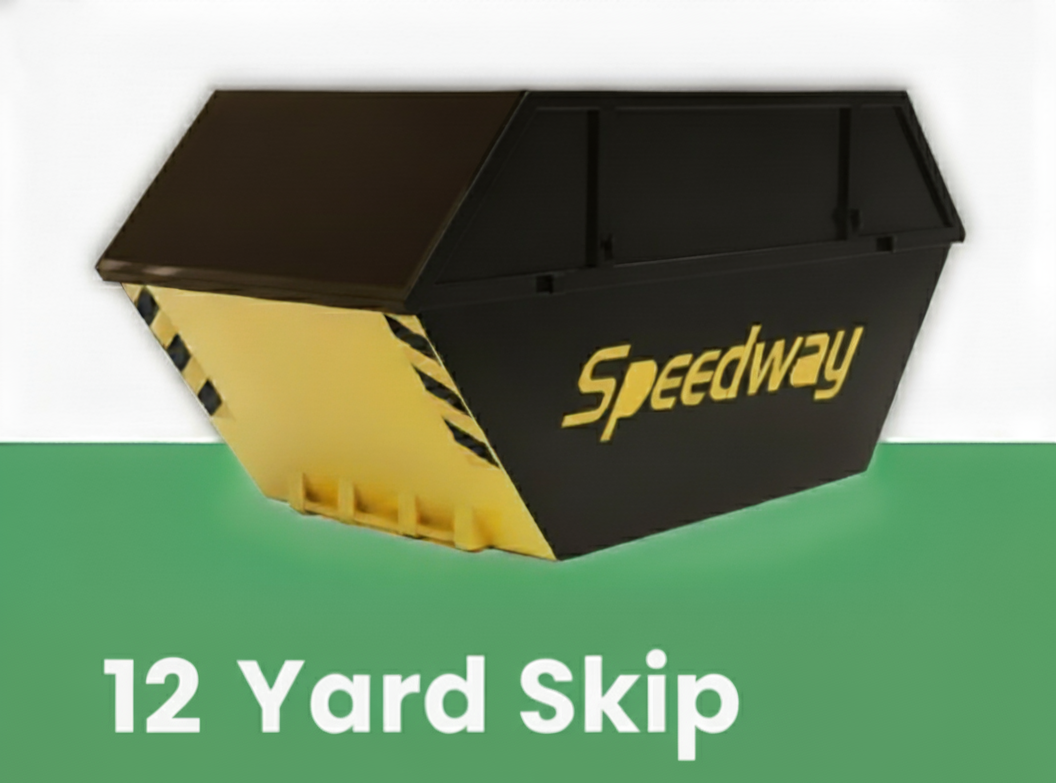
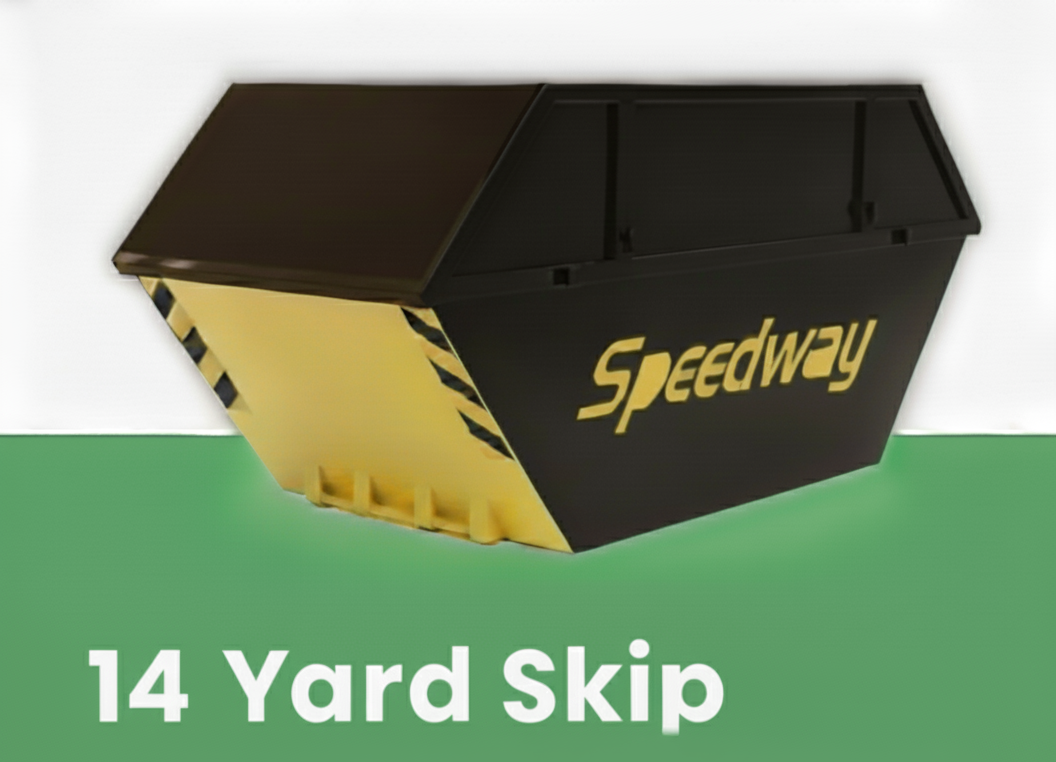
  1. Choose Your Size: Use our guide below to pick the perfect skip.
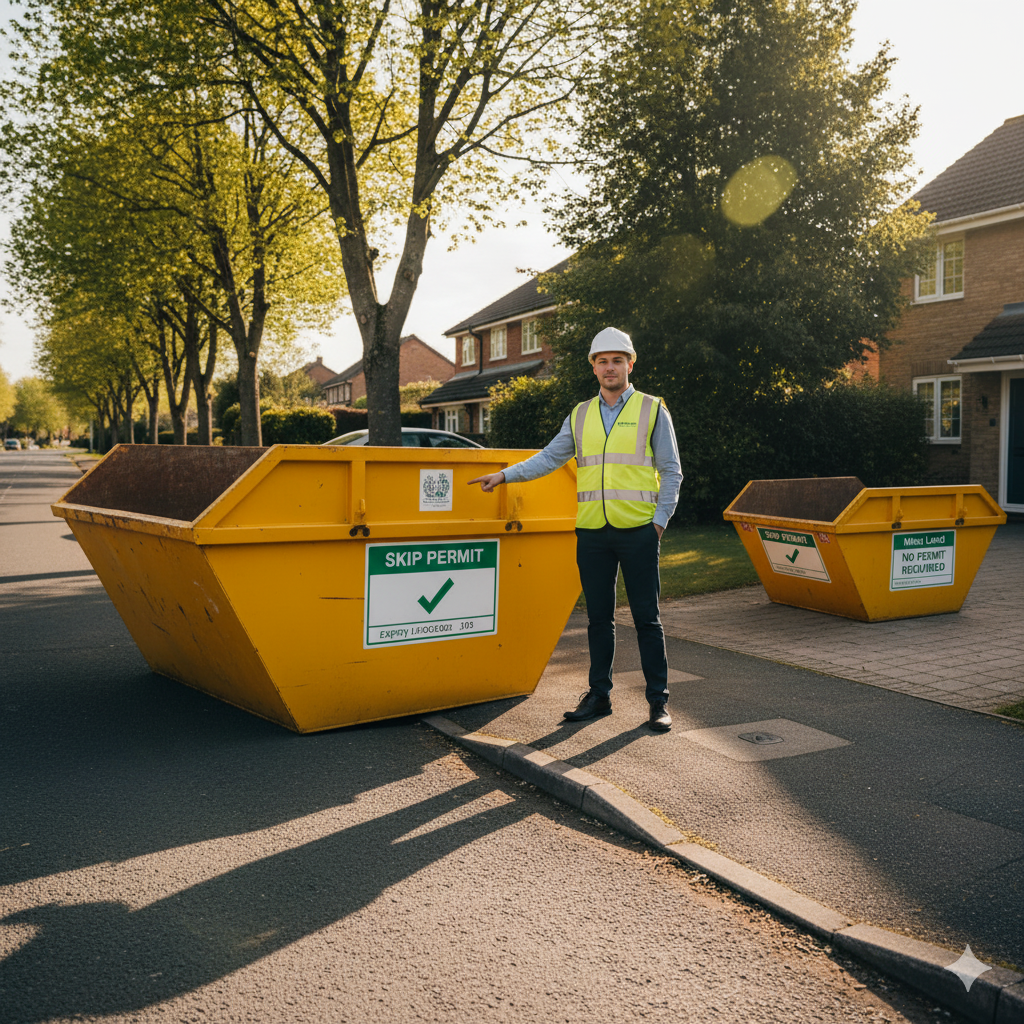
  2. Book Delivery: Pick a date and tell us where to put it.
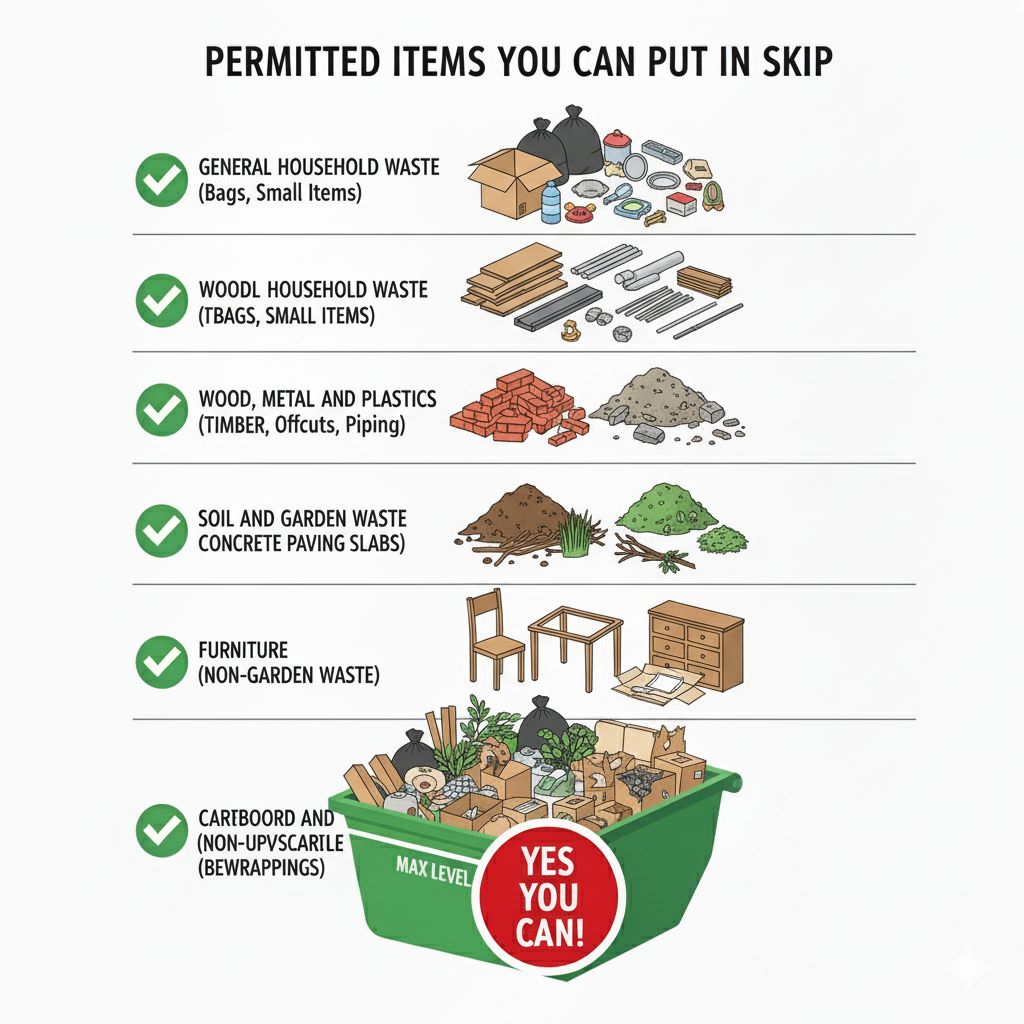
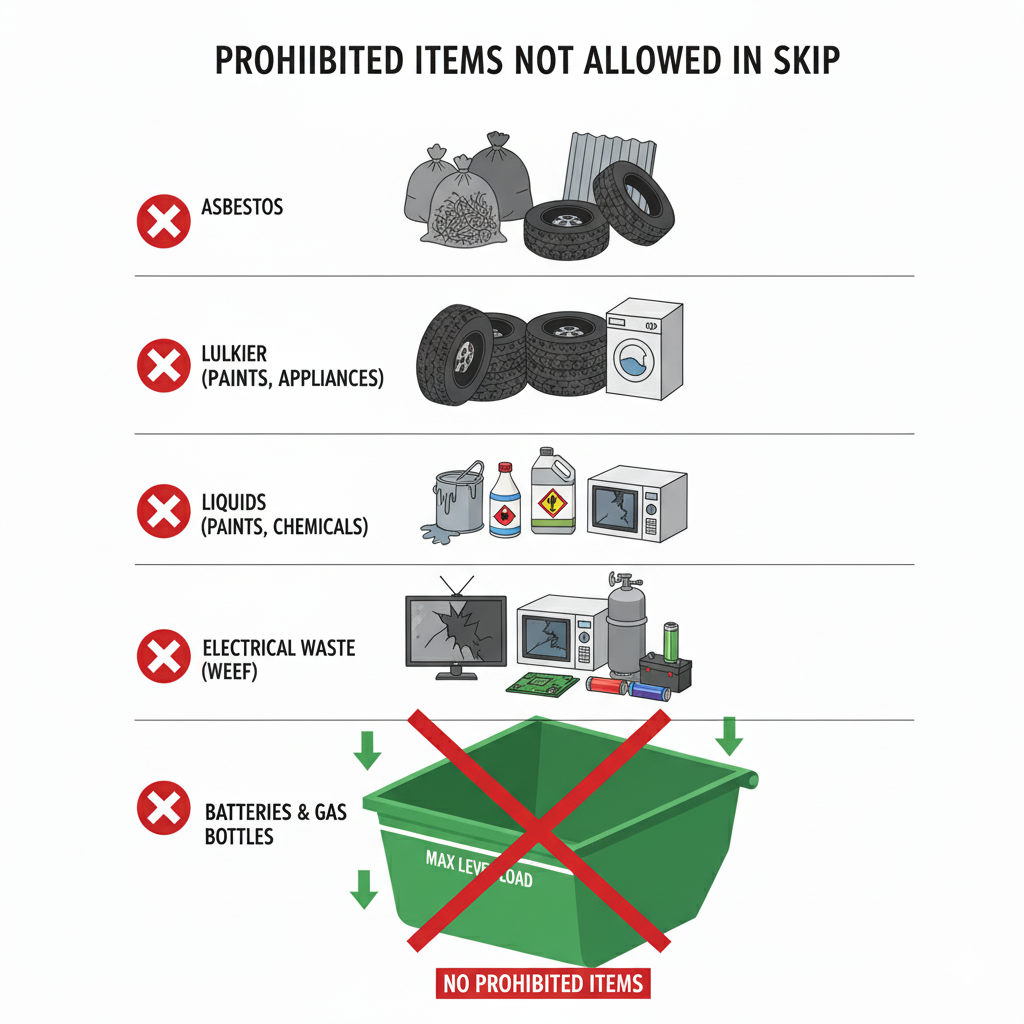
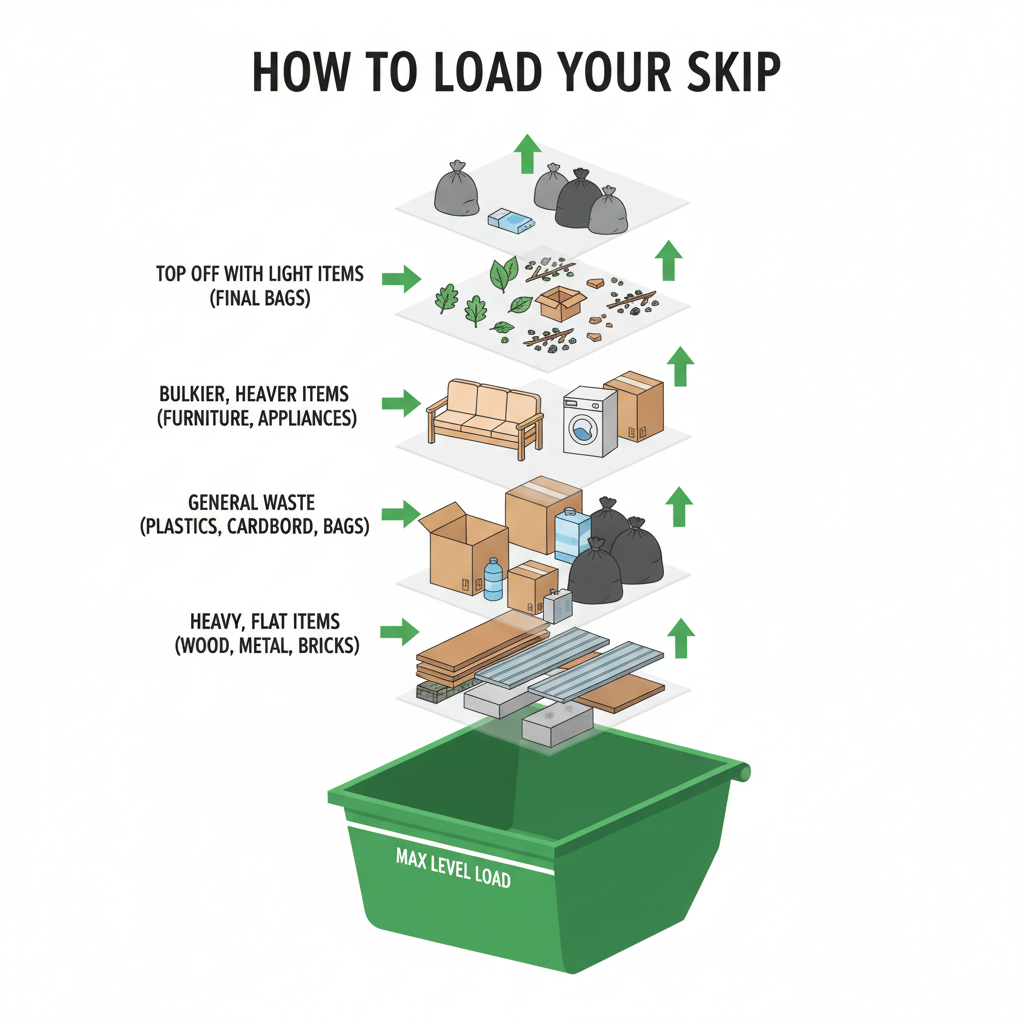
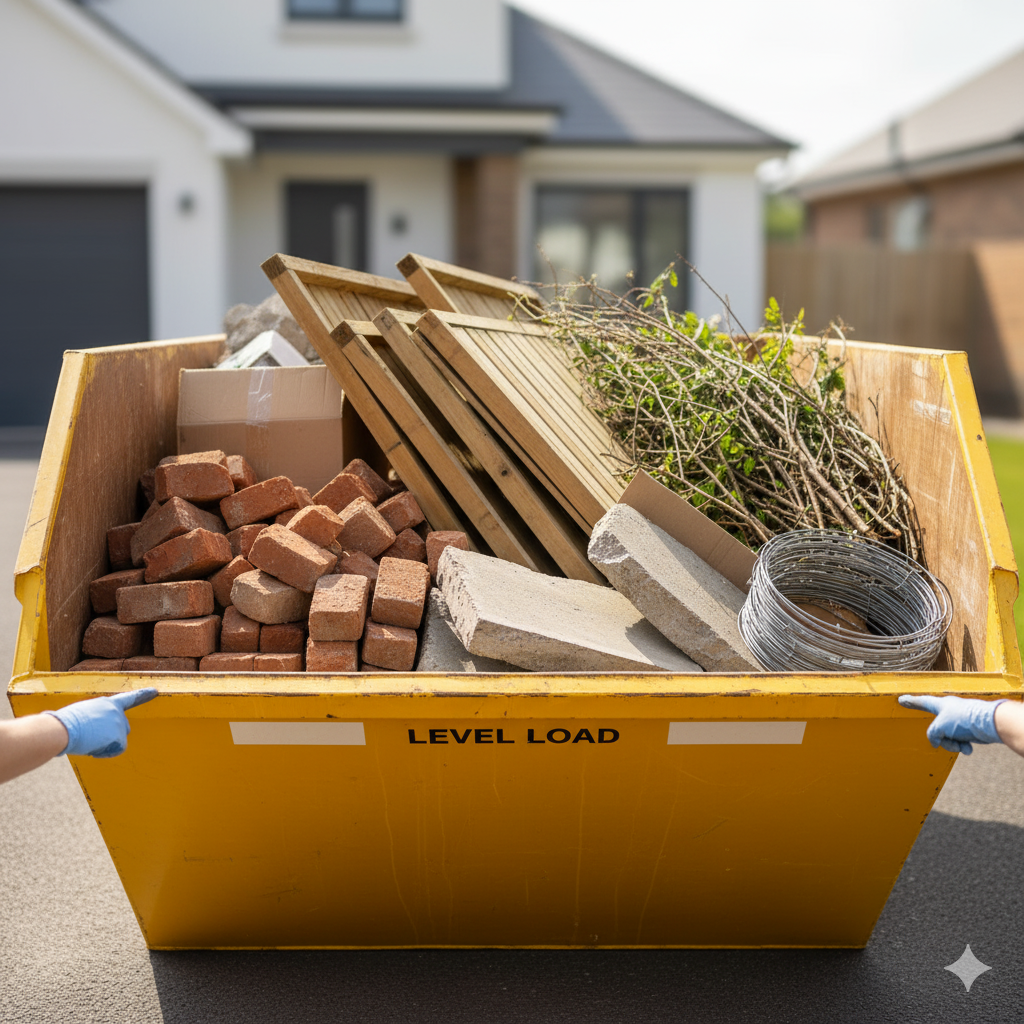
  3. Fill Your Skip: Load your waste, following the rules below.
  4. Call for Collection: We pick it up and handle all the recycling.

Eco-Friendly Disposal

We ensure responsible waste management with maximum recycling and proper disposal methods

Fast Delivery & Collection

Quick skip delivery and flexible collection times to suit your project schedule

Step 1 & 2: Your Project & Your Skip

Choose the Perfect Skip for Your Needs

8 Yard Skip

🟨 8 Yard Skip - £270

The 'Builder's Skip'

10 Yard Skip

🟧 10 Yard Skip - £300

Large Builder's Skip

12 Yard Skip

🟩 12 Yard Skip - £360

Standard Large Skip

14 Yard Skip

🟩 14 Yard Skip - £400

Maxi Skip

Step 3: The Critical Rules

What Can & Can't Go In a Skip?

Allowed items in a skip: wood, bricks, garden waste, cardboard

What You CAN Put In

  • General Household Waste
  • Wood, Metal, and Plastics
  • Bricks, Rubble, and Concrete
  • Soil and Garden Waste
  • Furniture (non-upholstered)
  • Cardboard and Packaging
Prohibited items for a skip: fridge, tv, tyres, paint, gas cylinder

What You CANNOT Put In

  • Asbestos (Never!)
  • Plasterboard (Must be bagged separately)
  • Electricals (TVs, fridges, freezers)
  • Batteries, Tyres, or Gas Cylinders
  • Paint, Solvents, Oil, or Chemicals
  • Medical Waste

Note: Upholstered items (sofas, armchairs) must be handled separately due to POPs regulations. Please call us first!

Step 4 & 5: The Details

Permits, Placement & Loading

Diagram showing skip permit required for road and no permit for driveway
1. Permits & Placement
Exploded diagram showing how to load a skip efficiently in layers
2. How to Load Correctly
An overfilled skip with a red X, showing what not to do
3. Do NOT Overfill!

Step 4: Skip Permits & Placement

Where the skip will go is very important and affects the cost and time.

On Private Land (Your Driveway)
  • This is the easiest and cheapest option.
  • No permit is required.
  • We can often deliver the same or next day.
  • Ensure the driver has clear access and the ground is stable.
On a Public Road or Pavement
  • You MUST have a Skip Permit from the local council.
  • We will apply for this permit for you, but it adds to the cost.
  • Permits can take 3-7 days to be approved, so book in advance!

Step 5: How to Load Your Skip

Loading your skip efficiently saves space and ensures it can be collected safely.

  • Break It Down: Dismantle furniture and flatten all cardboard boxes. This is the best way to save space!
  • Flat Items First: Place flat items like doors or panels at the bottom to create a level base.
  • Heaviest Next: Load heavy items like bricks and rubble next.
  • Fill the Gaps: Use smaller items and loose debris to fill all the empty spaces.
  • DO NOT OVERFILL: You must not fill the skip above the "level load" line. Overfilled skips are illegal to transport and will not be collected.